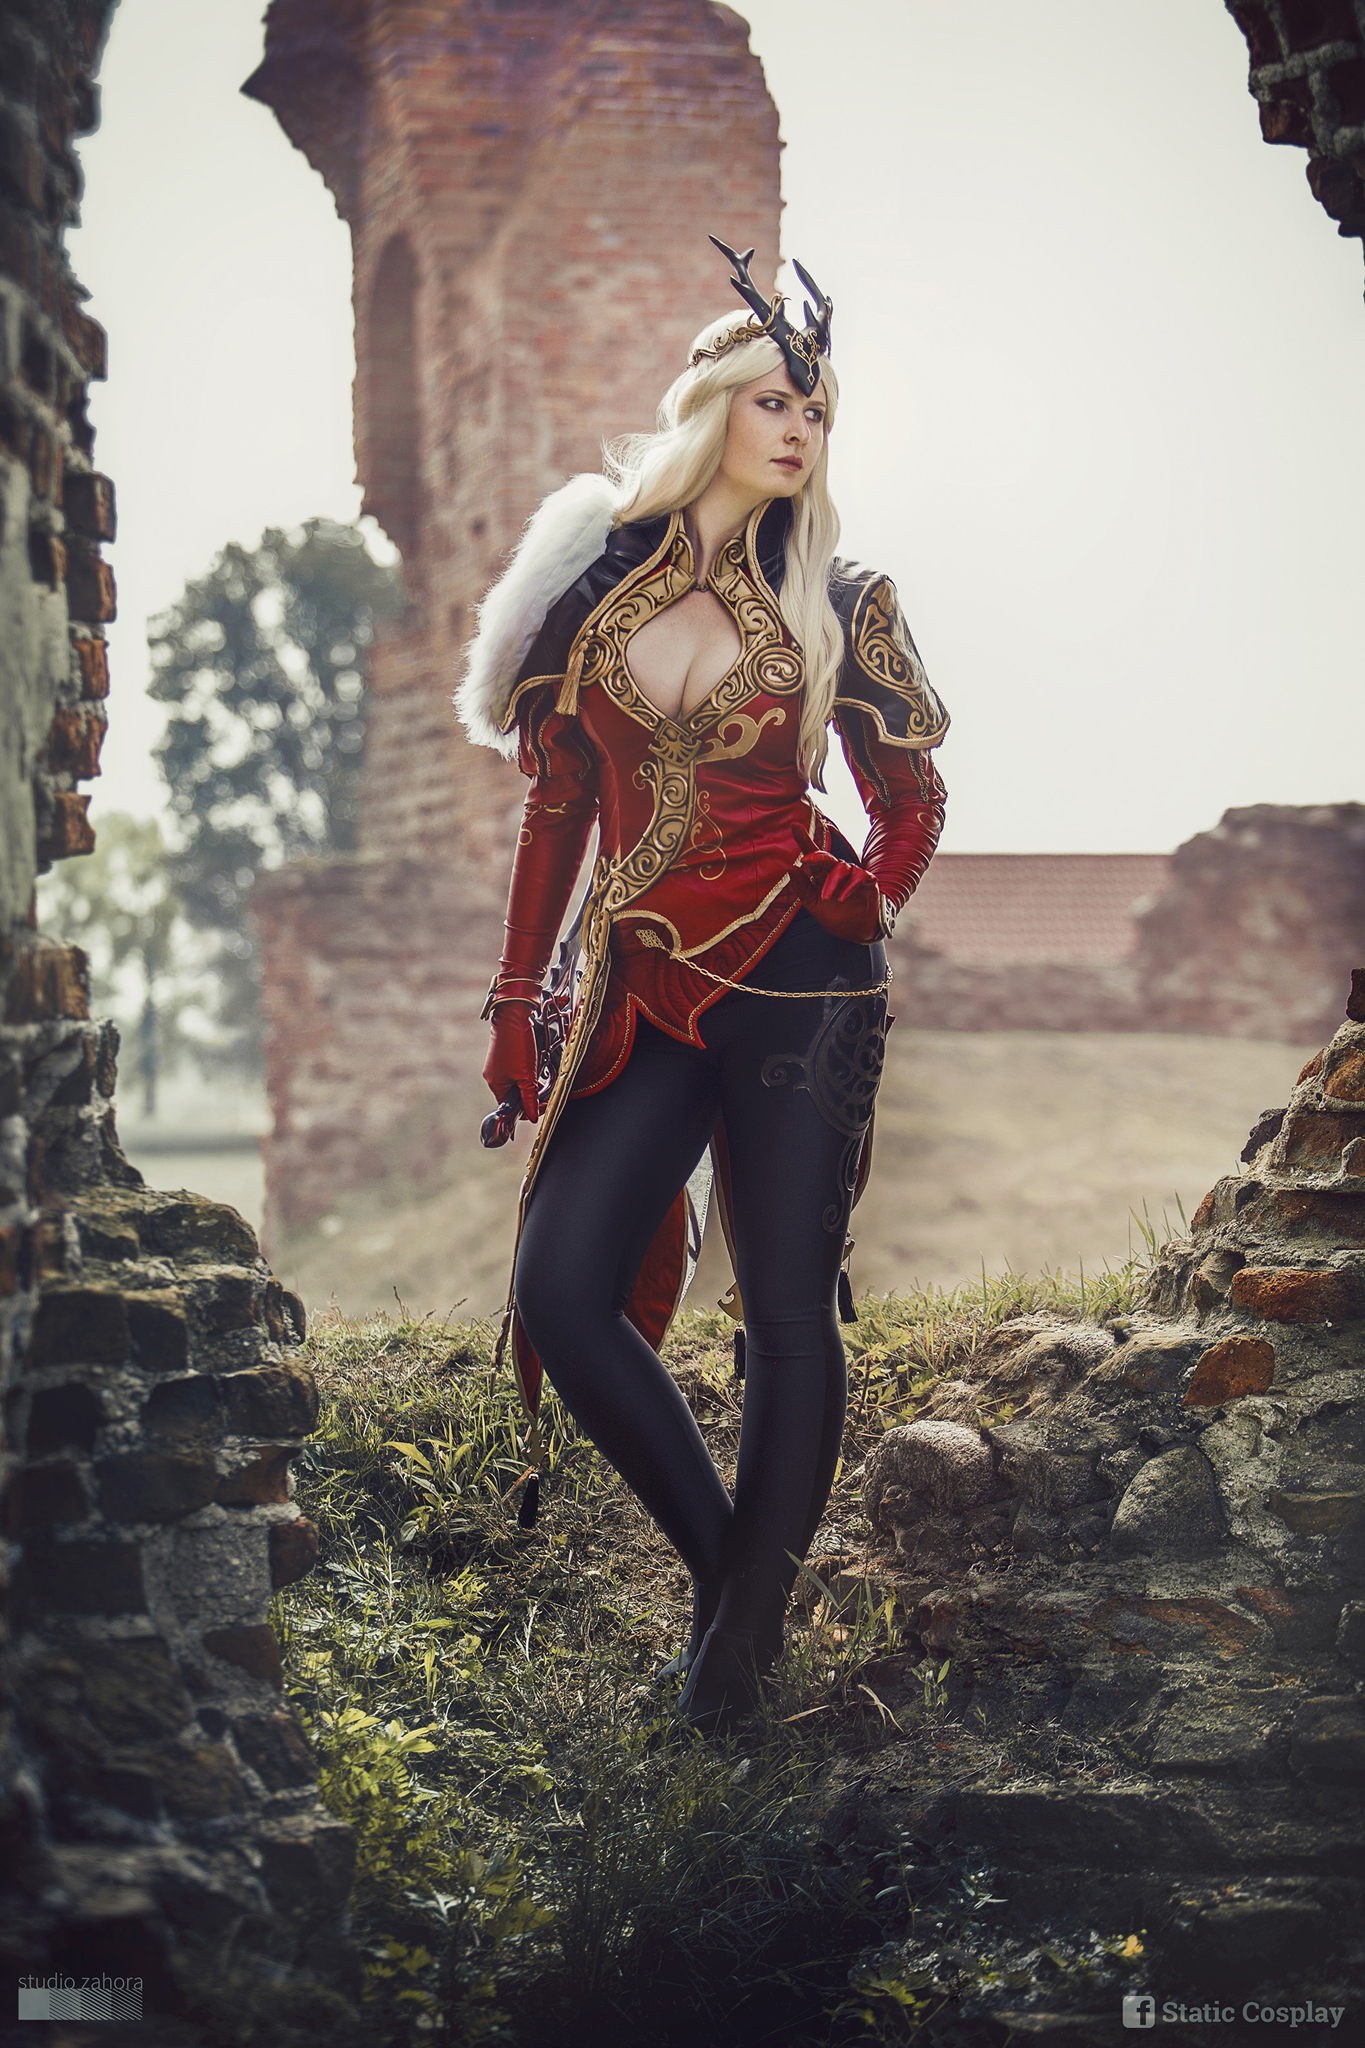
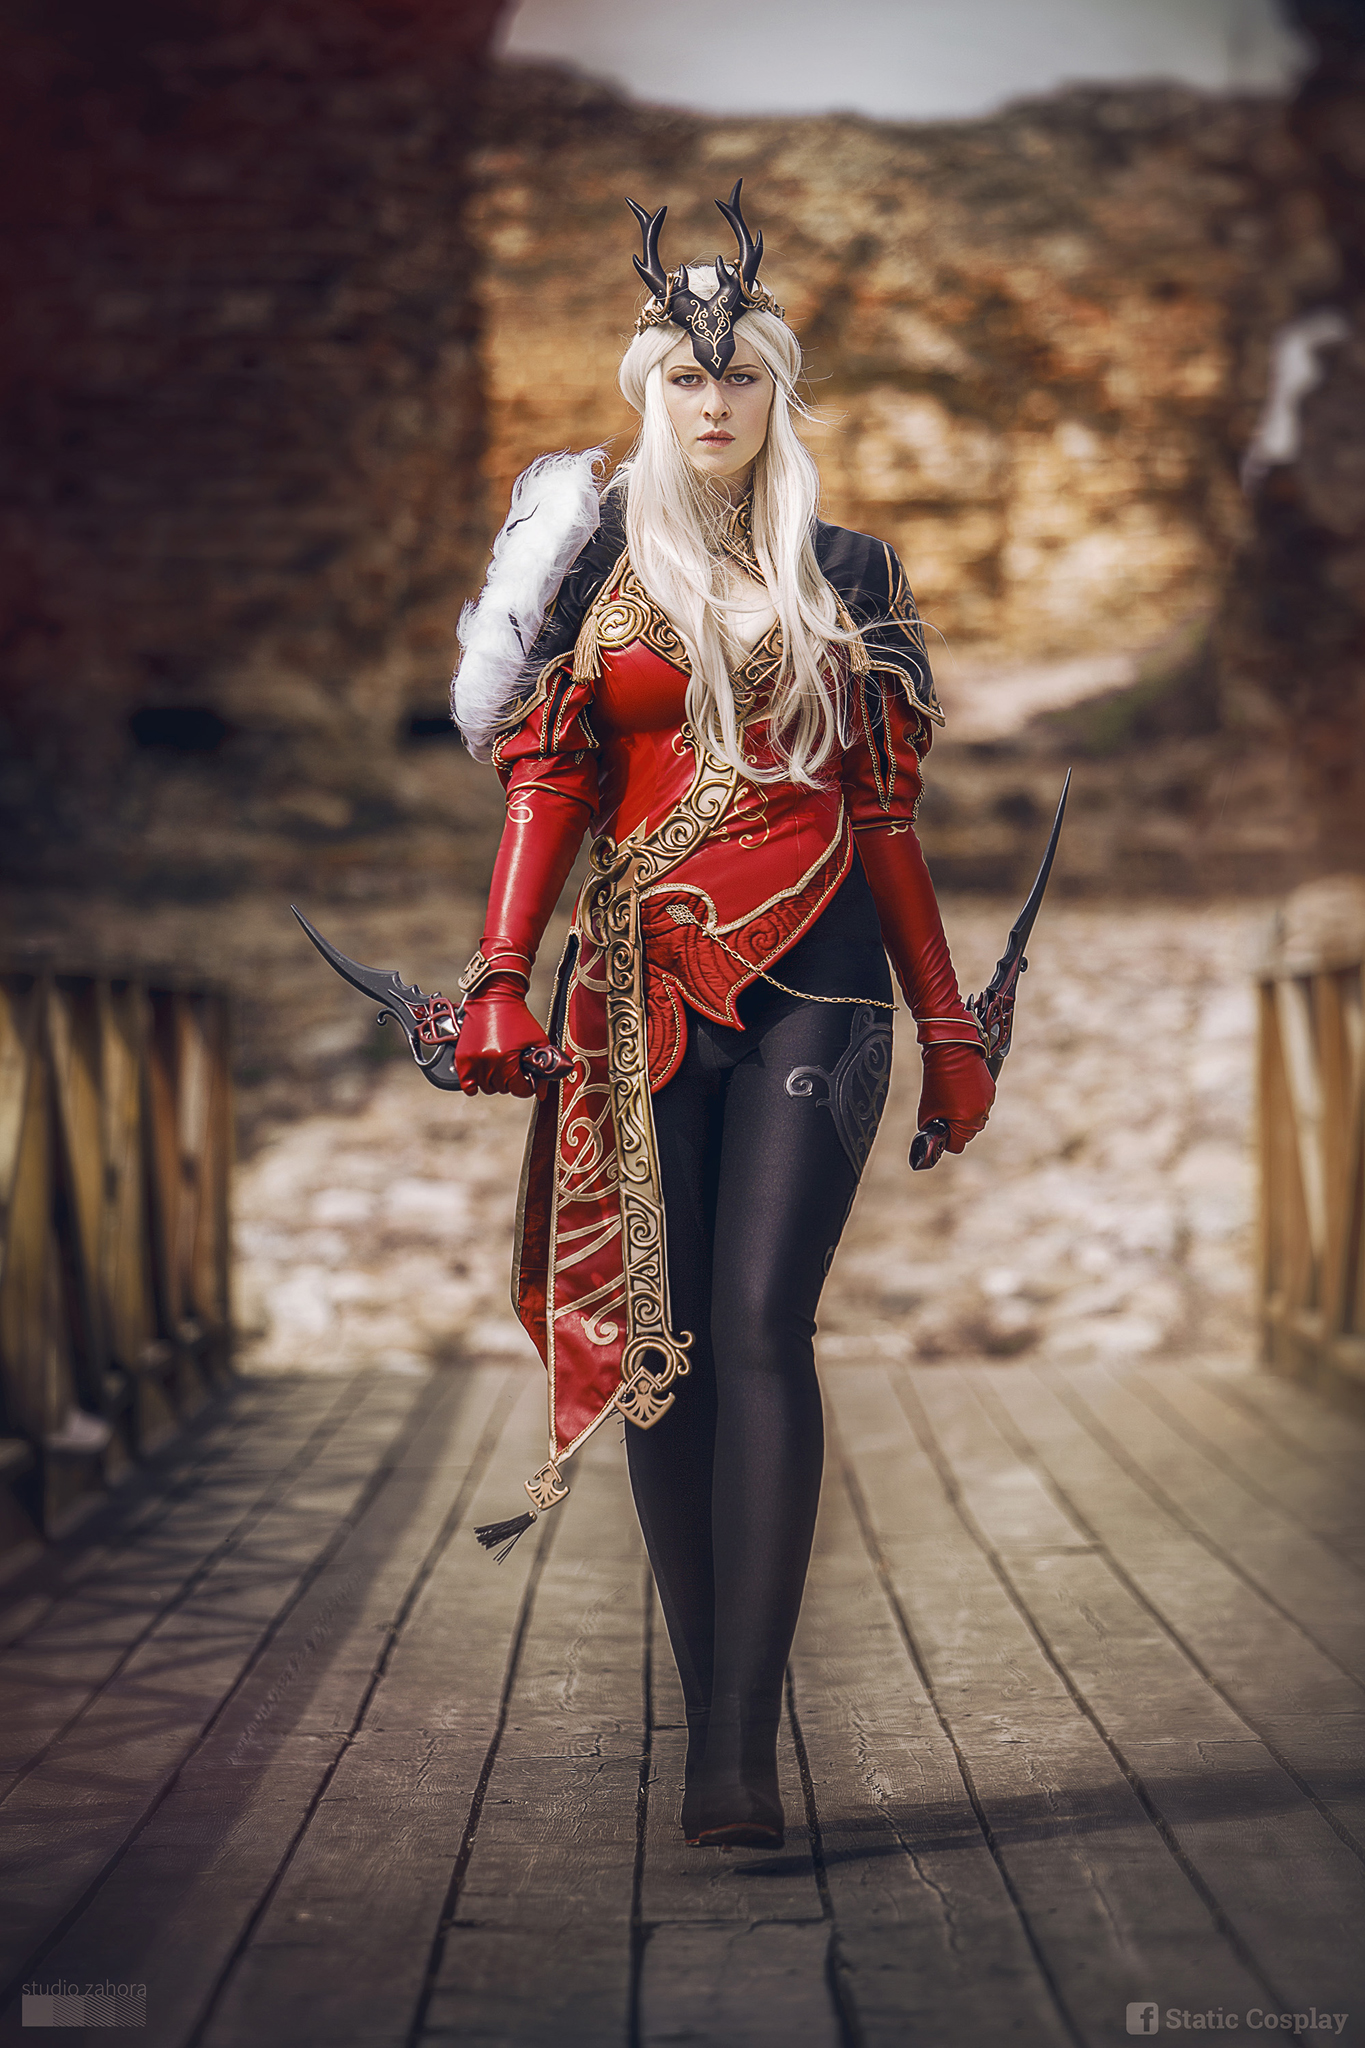
Hyperion Leather Armour from Aion
Photos by Studio Zahora
Model, costume: Sylvie Kirkman
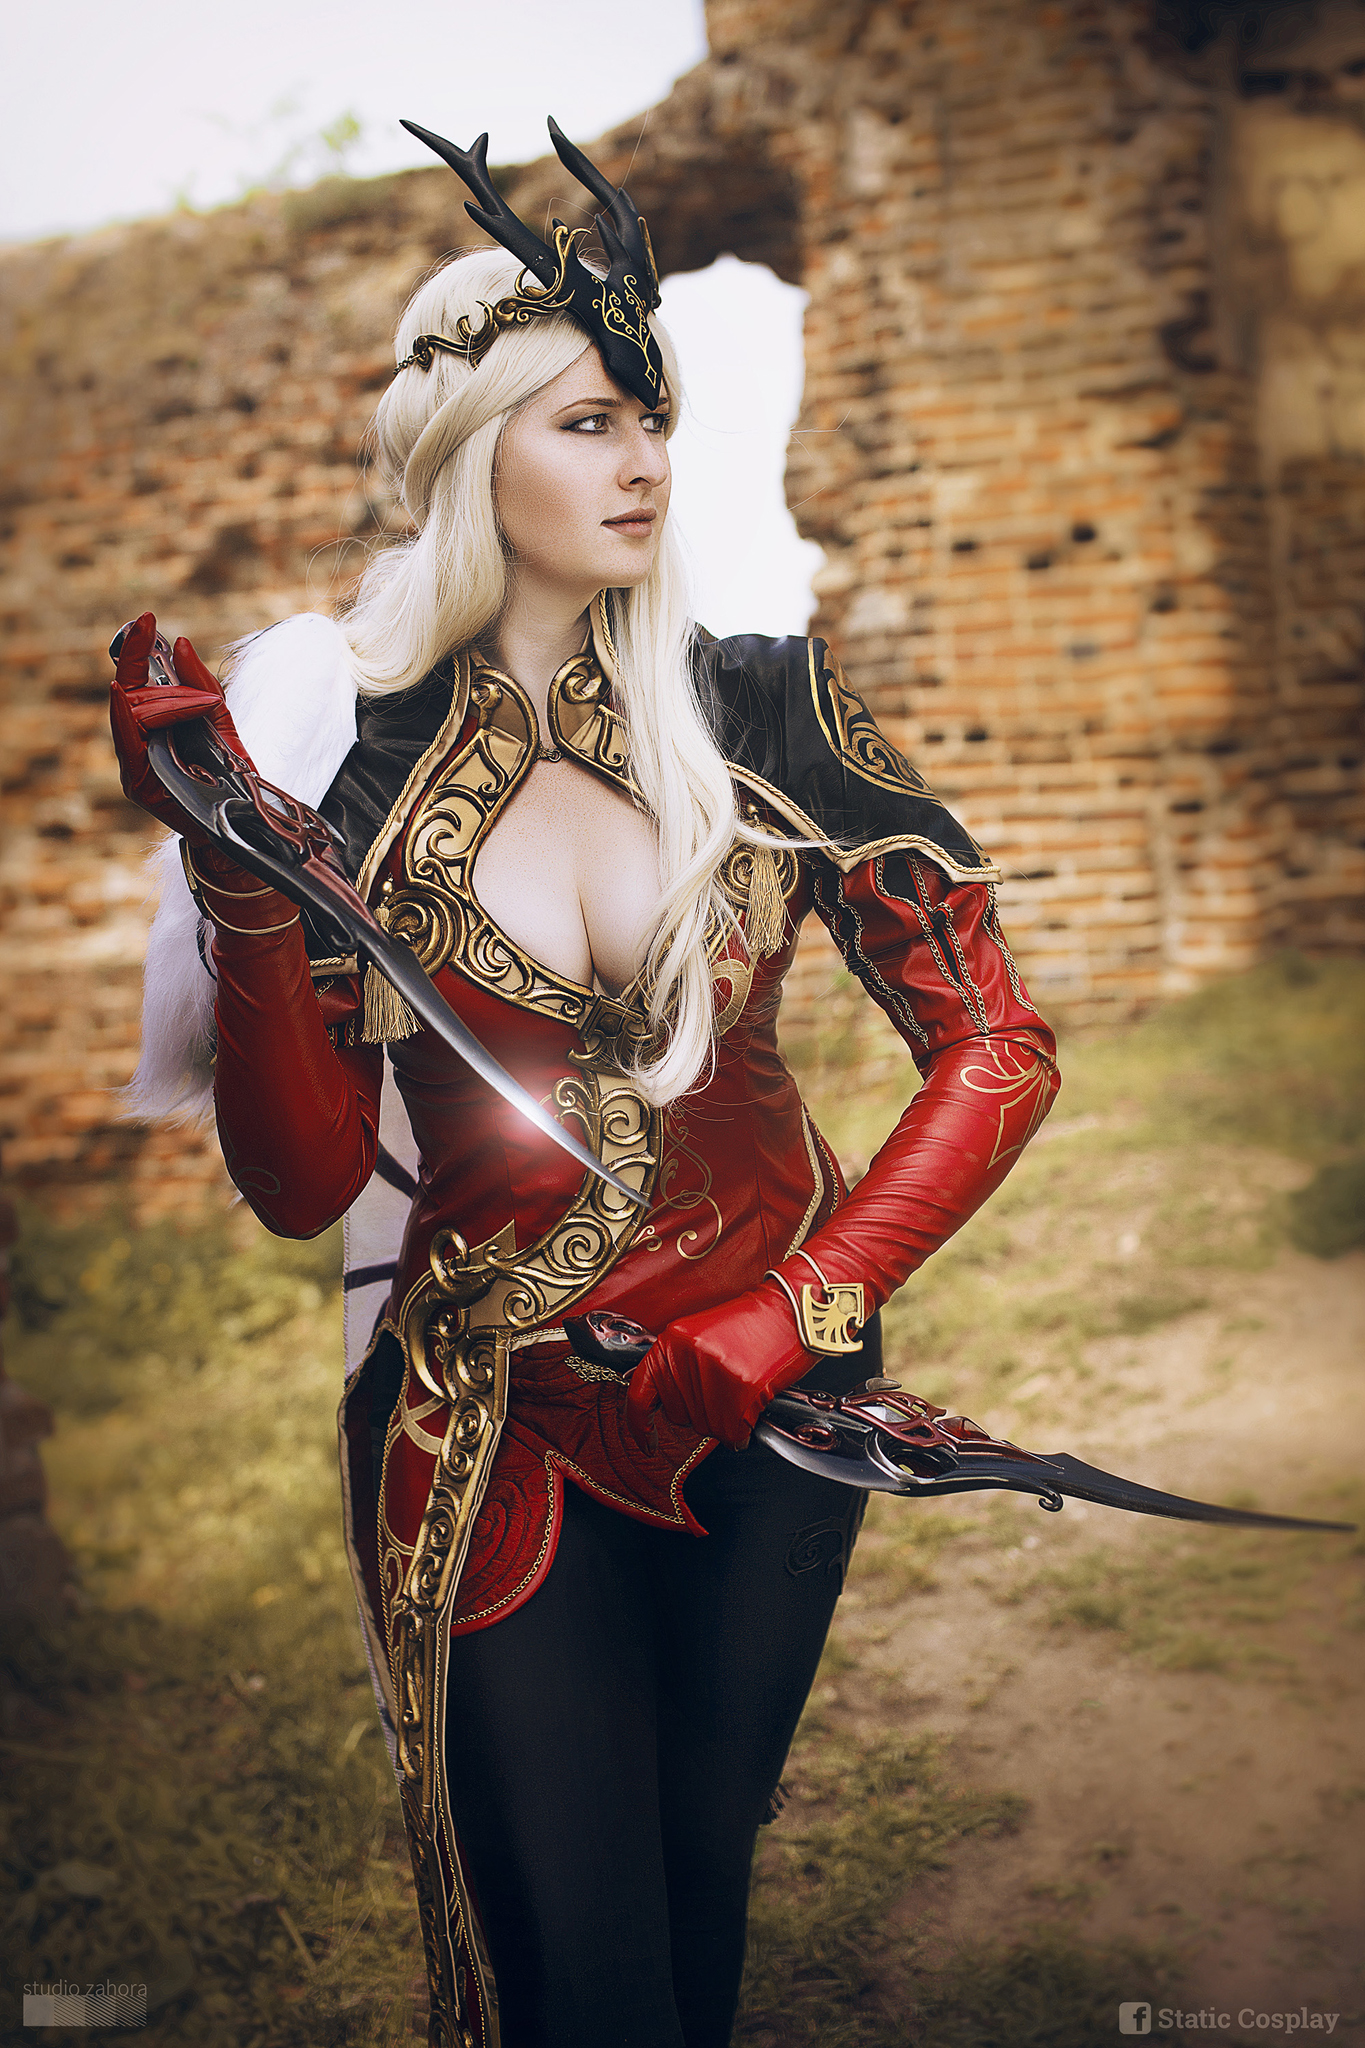
The antlers were carved from EVA foam, skinned in worbla for strength, and smoothed out with polyfilla. Once the base form was smoothed out I applied a very thin layer of epoxy putty to the front and pressed in the filigree detail using a stamp I made by using 3D fabric paint on a scrap of paper. This was cleaned up with a dremel and engraving bit once the putty cured.
The laurels were drawn up from reference images and embellished slightly, then sculpted in epoxy putty and cold cast with brass powder (I also used rub n buff to warm up the colour). I embedded wire through stress points of the design to add strength. After pouring the resin, before it had fully cured, I wrapped the molds over a bucket and taped them down to achieve a soft curve in the final castings. The final piece was assembled by drilling through the laurels and antler base and sewing the laurels on with invisible thread. I had planned to use wire or panel pins to create a strong join, but the thread allows a little bit of movement which ensures a better fit when worn.
The anchor pendants were sculpted and cold-cast with the same brass powder as the laurels, and these are used in several places in the costume. I drew out the anchor shapes in Illustrator and had them laser cut, then glued the overlapping pieces together, shaped the edges with a dremel and sandpaper (filling the seam between the layers so it was flush) and molded them. The wings at the back of my neck were done in a similar way; these were sculpted by hand and then molded for cold casting.
The dress was heavily modified from a commercial pattern – a simple A-line, princess seamed dress. I originally intended to use a cotton sateen for the base fabric as it’s readily available, takes paints and dyes very well, and is pleasant to wear. Halfway through the sleeves I realised I wasn’t happy with the texture, and went and bought some blood red leatherette to better match the game model. The original sateen version was used to line the new dress.
Once the dress bodice was reassembled I marked out the final hemline and checked it over the tights and underwear I planned to wear with it. I deliberately lowered the split on the left hip for two reasons: first so that the waistband of the tights wouldn’t be visible, and secondly so that I didn’t run into any fitting issues by removing the lateral tension around the torso. To further improve the fit, I added a gusset of black lycra at the top of the split to match the tights underneath. Once the final hemline was confirmed, I took paper patterns of the final shape and began drawing up the filigree patterns. The center back has an insert of black cotton sateen, with the edges twin needled and painted gold before being trimmed back. The zipper is set into the sateen. The gold designs are silk dupioni and were applied with heat n bond, then satin stitched into place after stabilizing the pleather. The dress was lined in the red sateen from dress v.1, and the hem is bound in gold satin with gold chain stitched on to add detail.
The sleeves are unlined to keep them lightweight. I initially planned to have a seam at the elbow and gather the upper sleeve to fit, but after doing these in sateen I realized it was too heavy and the elbow seam added unnecessary bulk. When I re-made the dress, I re-patterned them as leg o’ mutton style poofs, fitted snugly around the forearm. I stitched the slash placements down by hand, catching in a black sateen backing layer, then reinforced this with straight stitching before satin stitching these as well.
The stitched edges of the upper sleeves were also embellished with metal chain. The detailing on the sleeves is mostly paint, as it was too delicate to do as an applique. I had planned to add small brass rivets for texture, but found it was overkill – the paint looks good on its own. The cuff is piped at both edges and lined. The anchors on the cuffs were curved during casting, as with the filigree segments of the headpiece, then drilled out and sewn into place.
The hem insert is quilted. I used fleece as a spacer, dupioni silk as the face fabric, and a reject version of the same piece for the base (recycling!). I cut narrow strips of fleece and tacked these into position on the base layer, and stretched the silk over the top so the spiral pattern was raised. The insert piece was bound in pleather and detailed with gold chain, and was stitched to the dress hem once the binding was applied.
The gold accent on the chest and front of the dress is patterned as a separate piece, and was fixed into place after the dress was assembled – it’s stitched directly to the dress from throat to the corner on the right hip, then falls freely away from the rest of the garment. I used worbla scrap to sculpt the swirl details as sew-on segments.
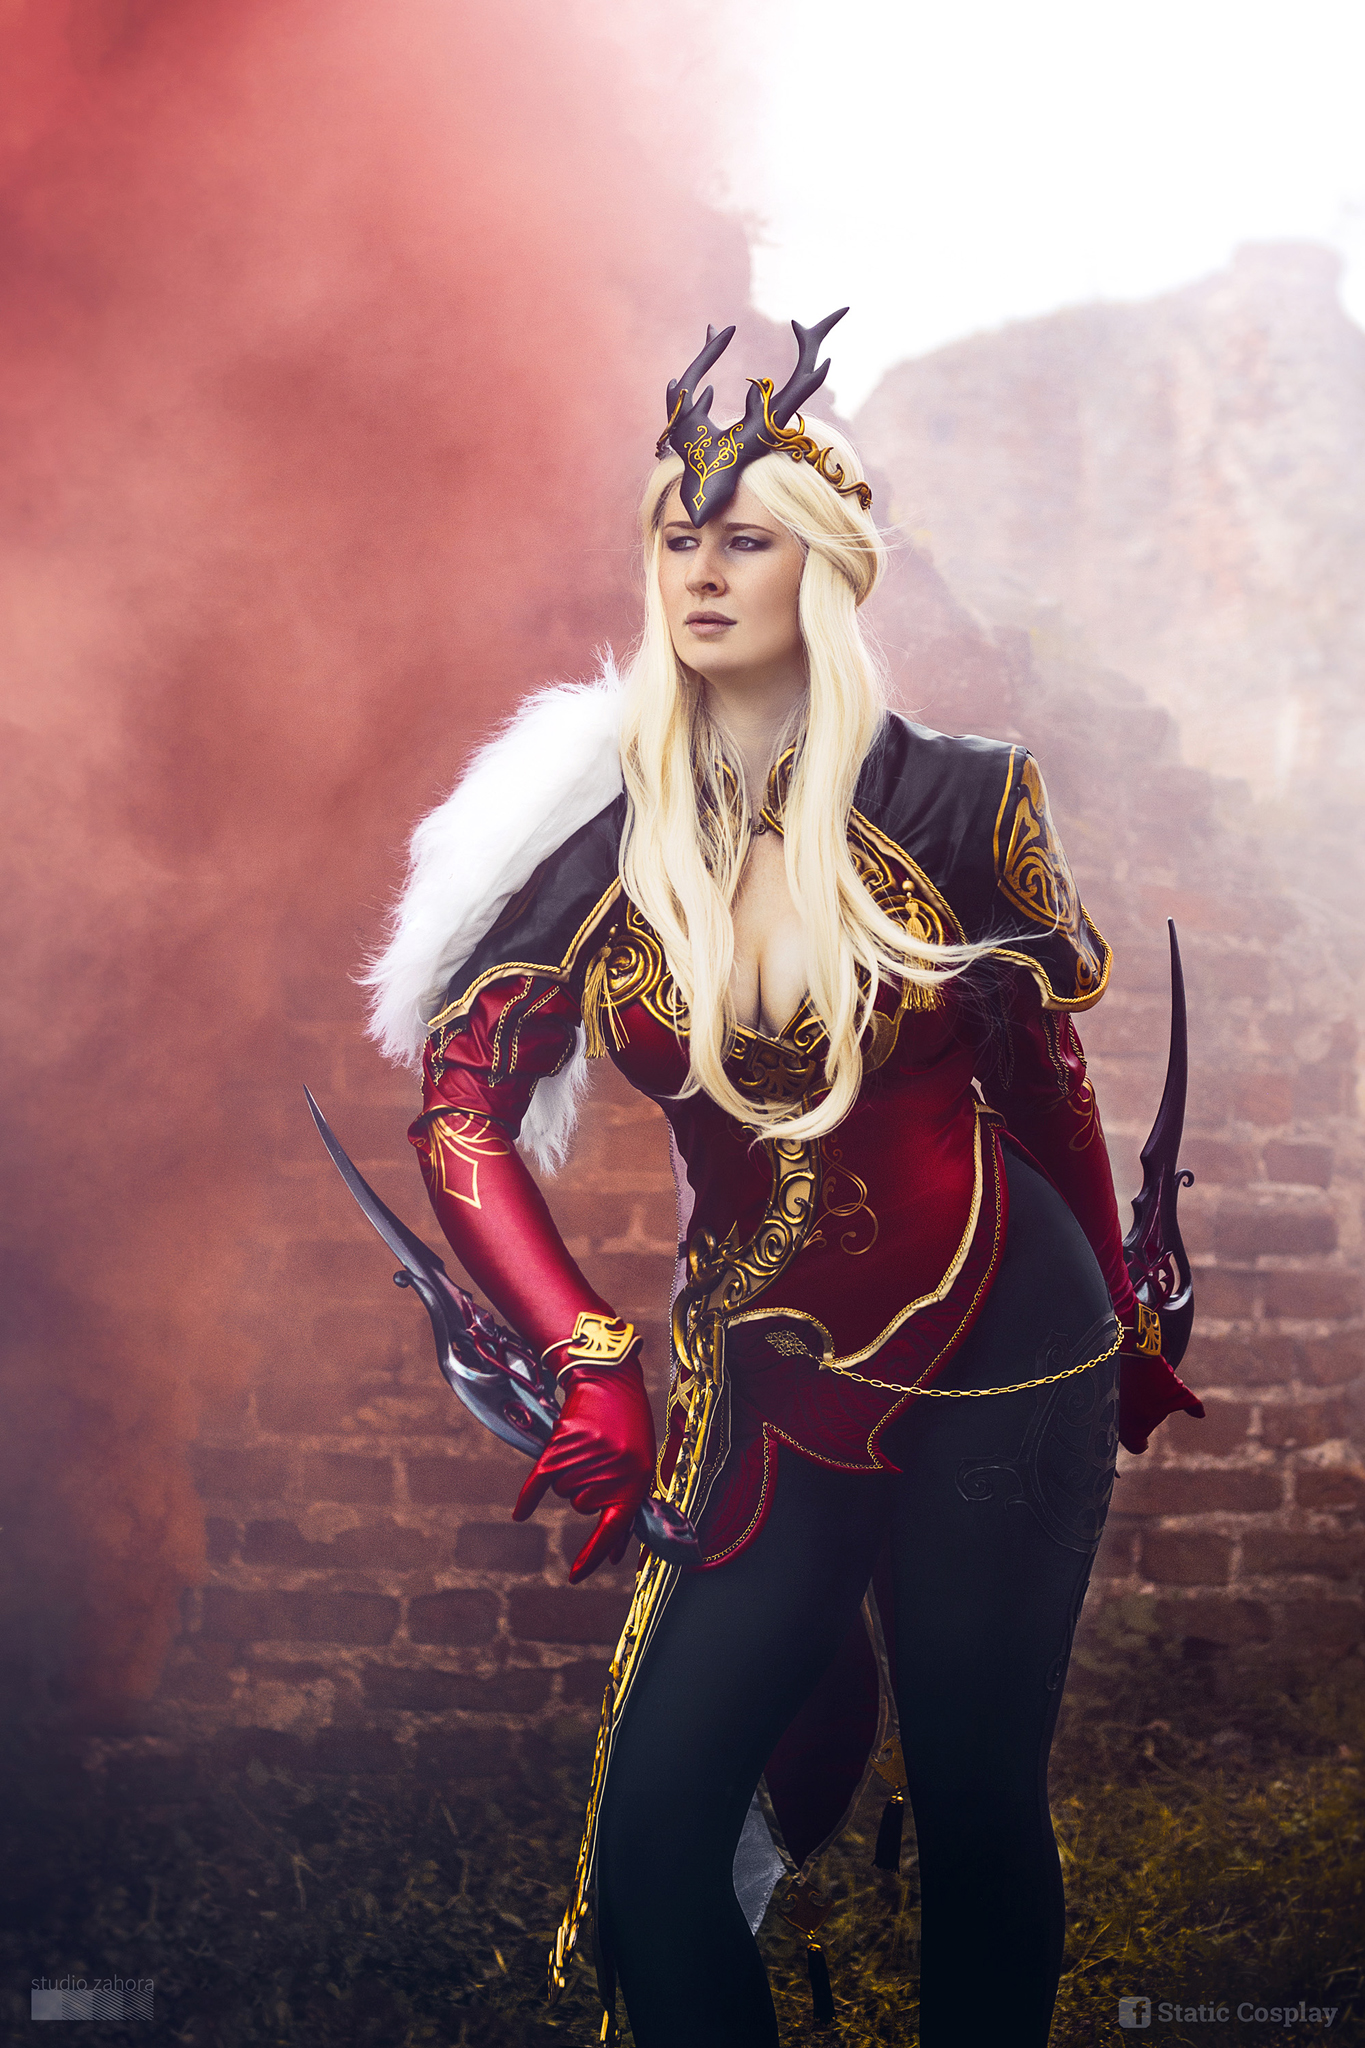
The mantle was patterned from scratch in paper before being transferred to the final leatherette. Once the patterning was complete, the final pieces were cut and embellished before assembly. The majority of the detailing is acrylic paint – I used a stencil to get a guide into place on the fabric, then went over it with two coats of Citadel colours. The mantle is lined and the edges are bound with gold satin and gold cording. The fur accent is faux fur which I added black tufts to with combed-out acrylic wool.
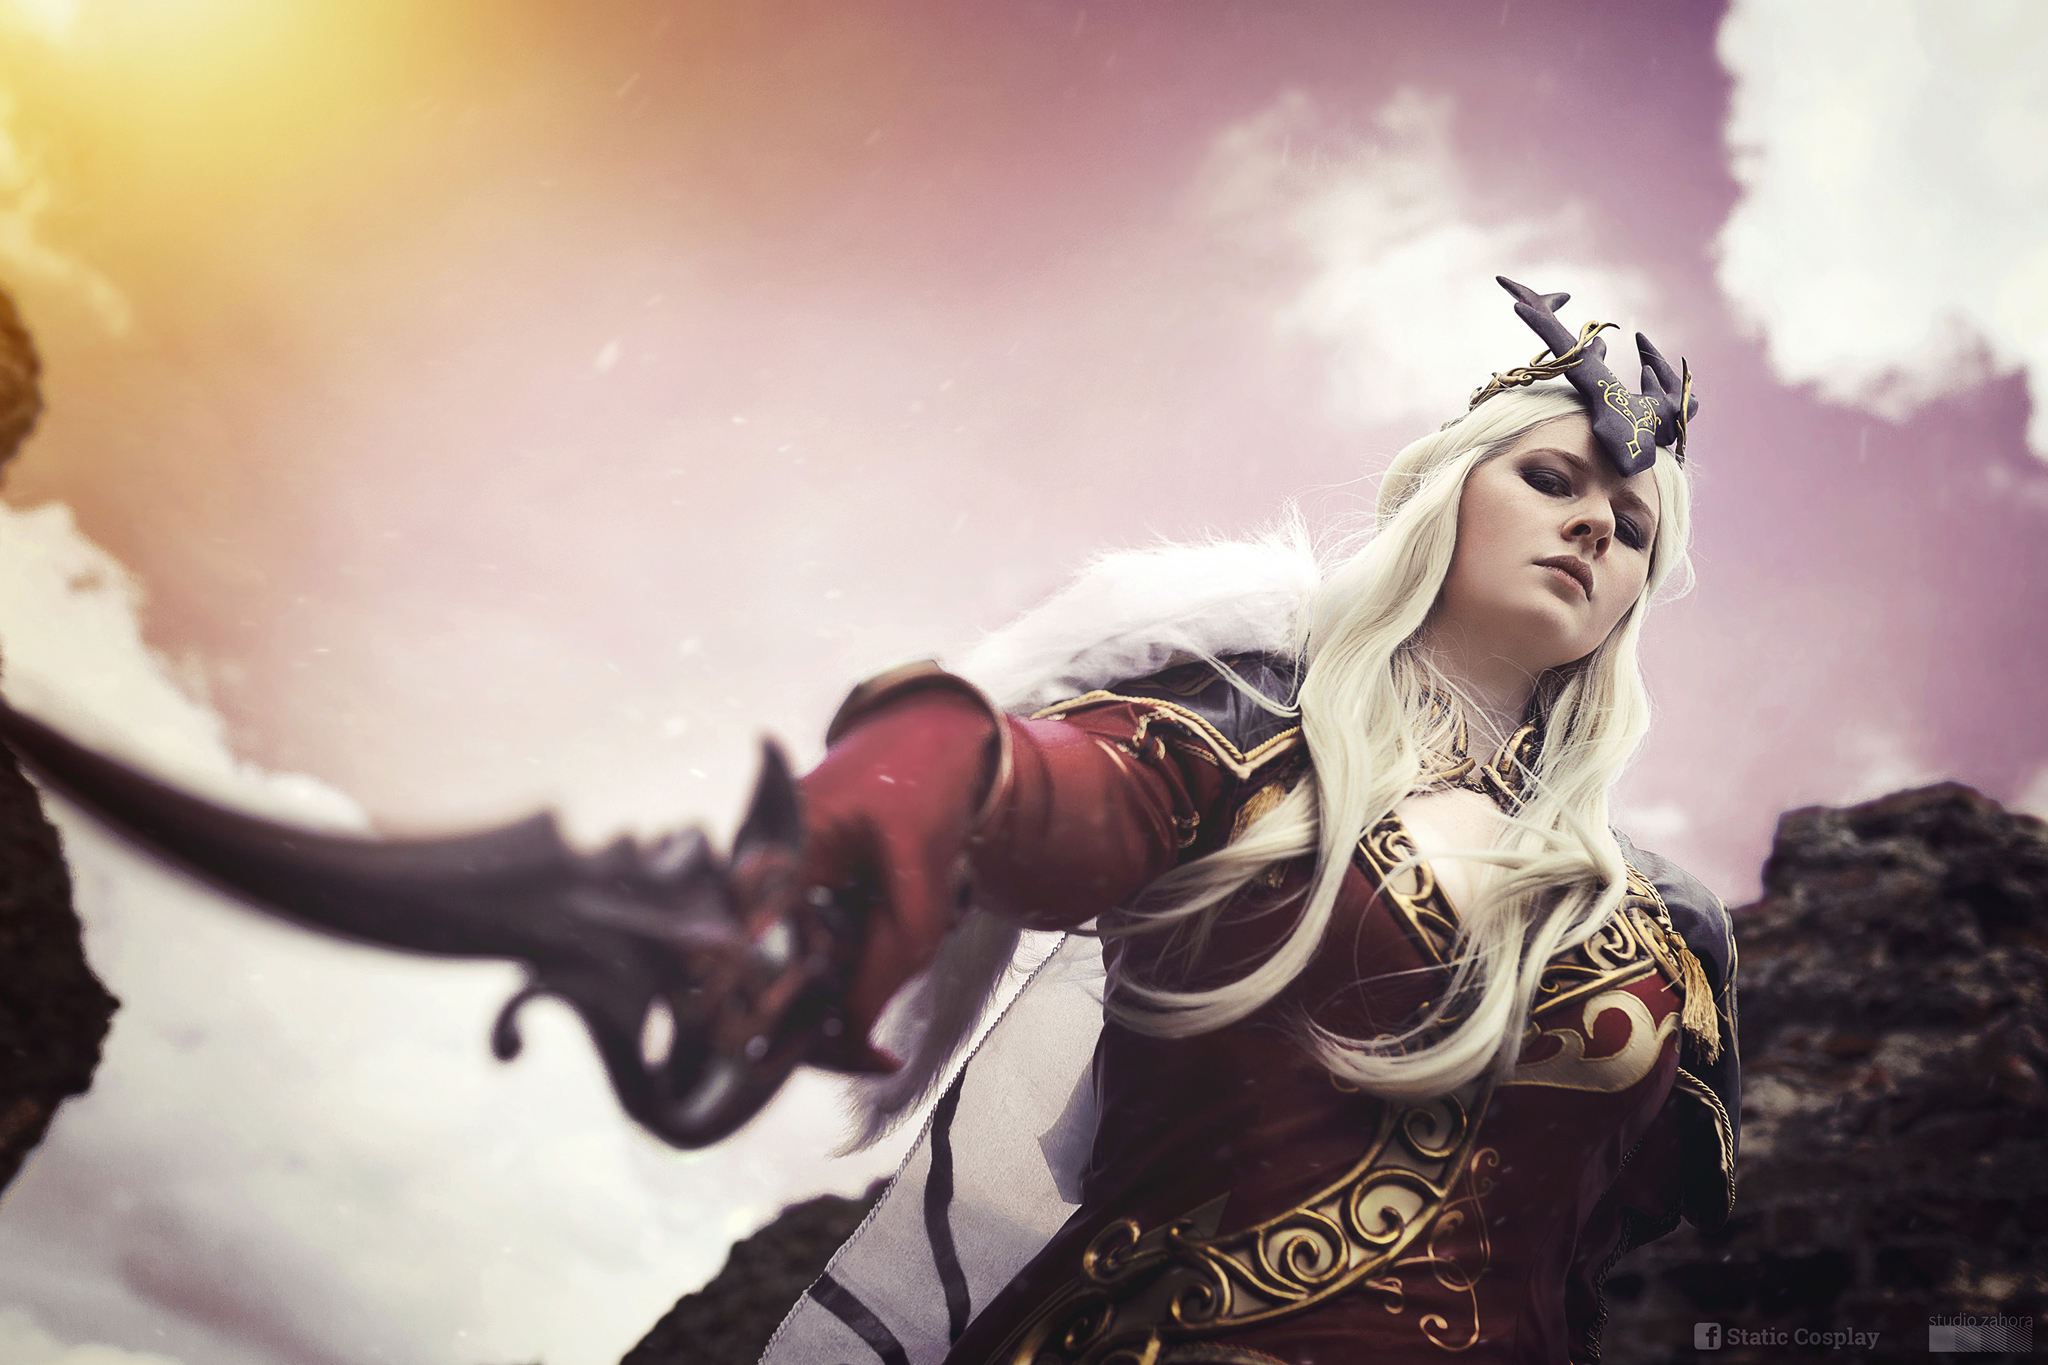
The weapons are from the same set as the armour design for consistency, and the base was several layers of mdf. TThe tip of the blade was reinforced with superglue to prevent the material from splitting, and additional details were added in epoxy putty. This was filled to make sure that the blade bevels were as smooth as possible, and to blend out any dings in the putty. The heart-shaped decoration on the hilt is cast as a separate piece to avoid undercuts in the mold and to help hide the wiring for the lights later on – this sits in place over the raised detail on the hilt.
The dagger base was then primed and had many rounds of spot filling and more priming before being molded and cast to produce an identical pair, these were then drilled out for wiring and lights.
The wiring for the dagger lights uses a capacitor and 555 timer to achieve a pulsing light effect – the circuit diagram was found online, here: http://solderpad.com/psd/breathing-led/
After casting, a section of the handle was removed to provide a cavity for the wiring and battery. The gems on the blade are cast in Gedeo crystal epoxy resin.
The tights are fixed to the bootcovers at the ankle to form a single garment. The bootcovers themselves are three pieces of fabric – two side pieces, with a seam along the top of the foot from toe to ankle and up the back at the heel, and a sole piece under the ball of my foot. These were pinned and trimmed to shape, then the decorative red pieces were applied. The gold border was painted directly onto scraps of red leatherette to match the dress, using citadel acrylics (a mix of gold and bronze). I cut along the edge to produce a very sharp line, and these pieces were stitched to the black lycra of the boot cover with heat n bond used to keep them in place. The central and remaining ankle seams were then closed, and I piped the lower edge in red lycra using an elastic cord to ensure it retained its stretch. The sole piece was added last, the fit tweaked one more time for luck, and the closures at the arch added. The final step was adding a non-slip sole to the existing sole piece so the vinyl doesn’t wear through too fast – these were cut from a pair of cheap ballet ats, and applied using contact adhesive.
The thigh appliques were cut in black leatherette and topstitched into place on a piece of scrap lycra, and then stitched to the tights around the outer edge. These were marked with a stencil as a cutting guide and trimmed down by hand.